
Tutorial: your first week
Tutorial · Core Studio 3.0 · OneBox · Verified 2026-09-01
Persona: new hire on an F&O project · Time: spread over a week · Requires: the packaged app; a VM or exported metadata for real work.
Prerequisites
- The installer or portable zip (no admin needed for either).
- Your team’s metadata root path — ask once, save it forever.
Day 1 — install and open the system
Install (or use the portable zip — nothing to uninstall later), open the AOT folder your team uses. Don’t wait for full indexing: the explorer works within seconds. Spend the afternoon browsing the models you’ll own.
Day 2 — learn to find anything
Two different muscles: names (explorer, go-to-definition, quick open) and code (global search over method sources).
Day 3 — make a safe edit
Open a class from your team’s model. Change something small; watch diagnostics respond as you type. Save (Ctrl+S) and note the incremental reindex — your change is searchable immediately.
Day 4 — commit locally, nothing else
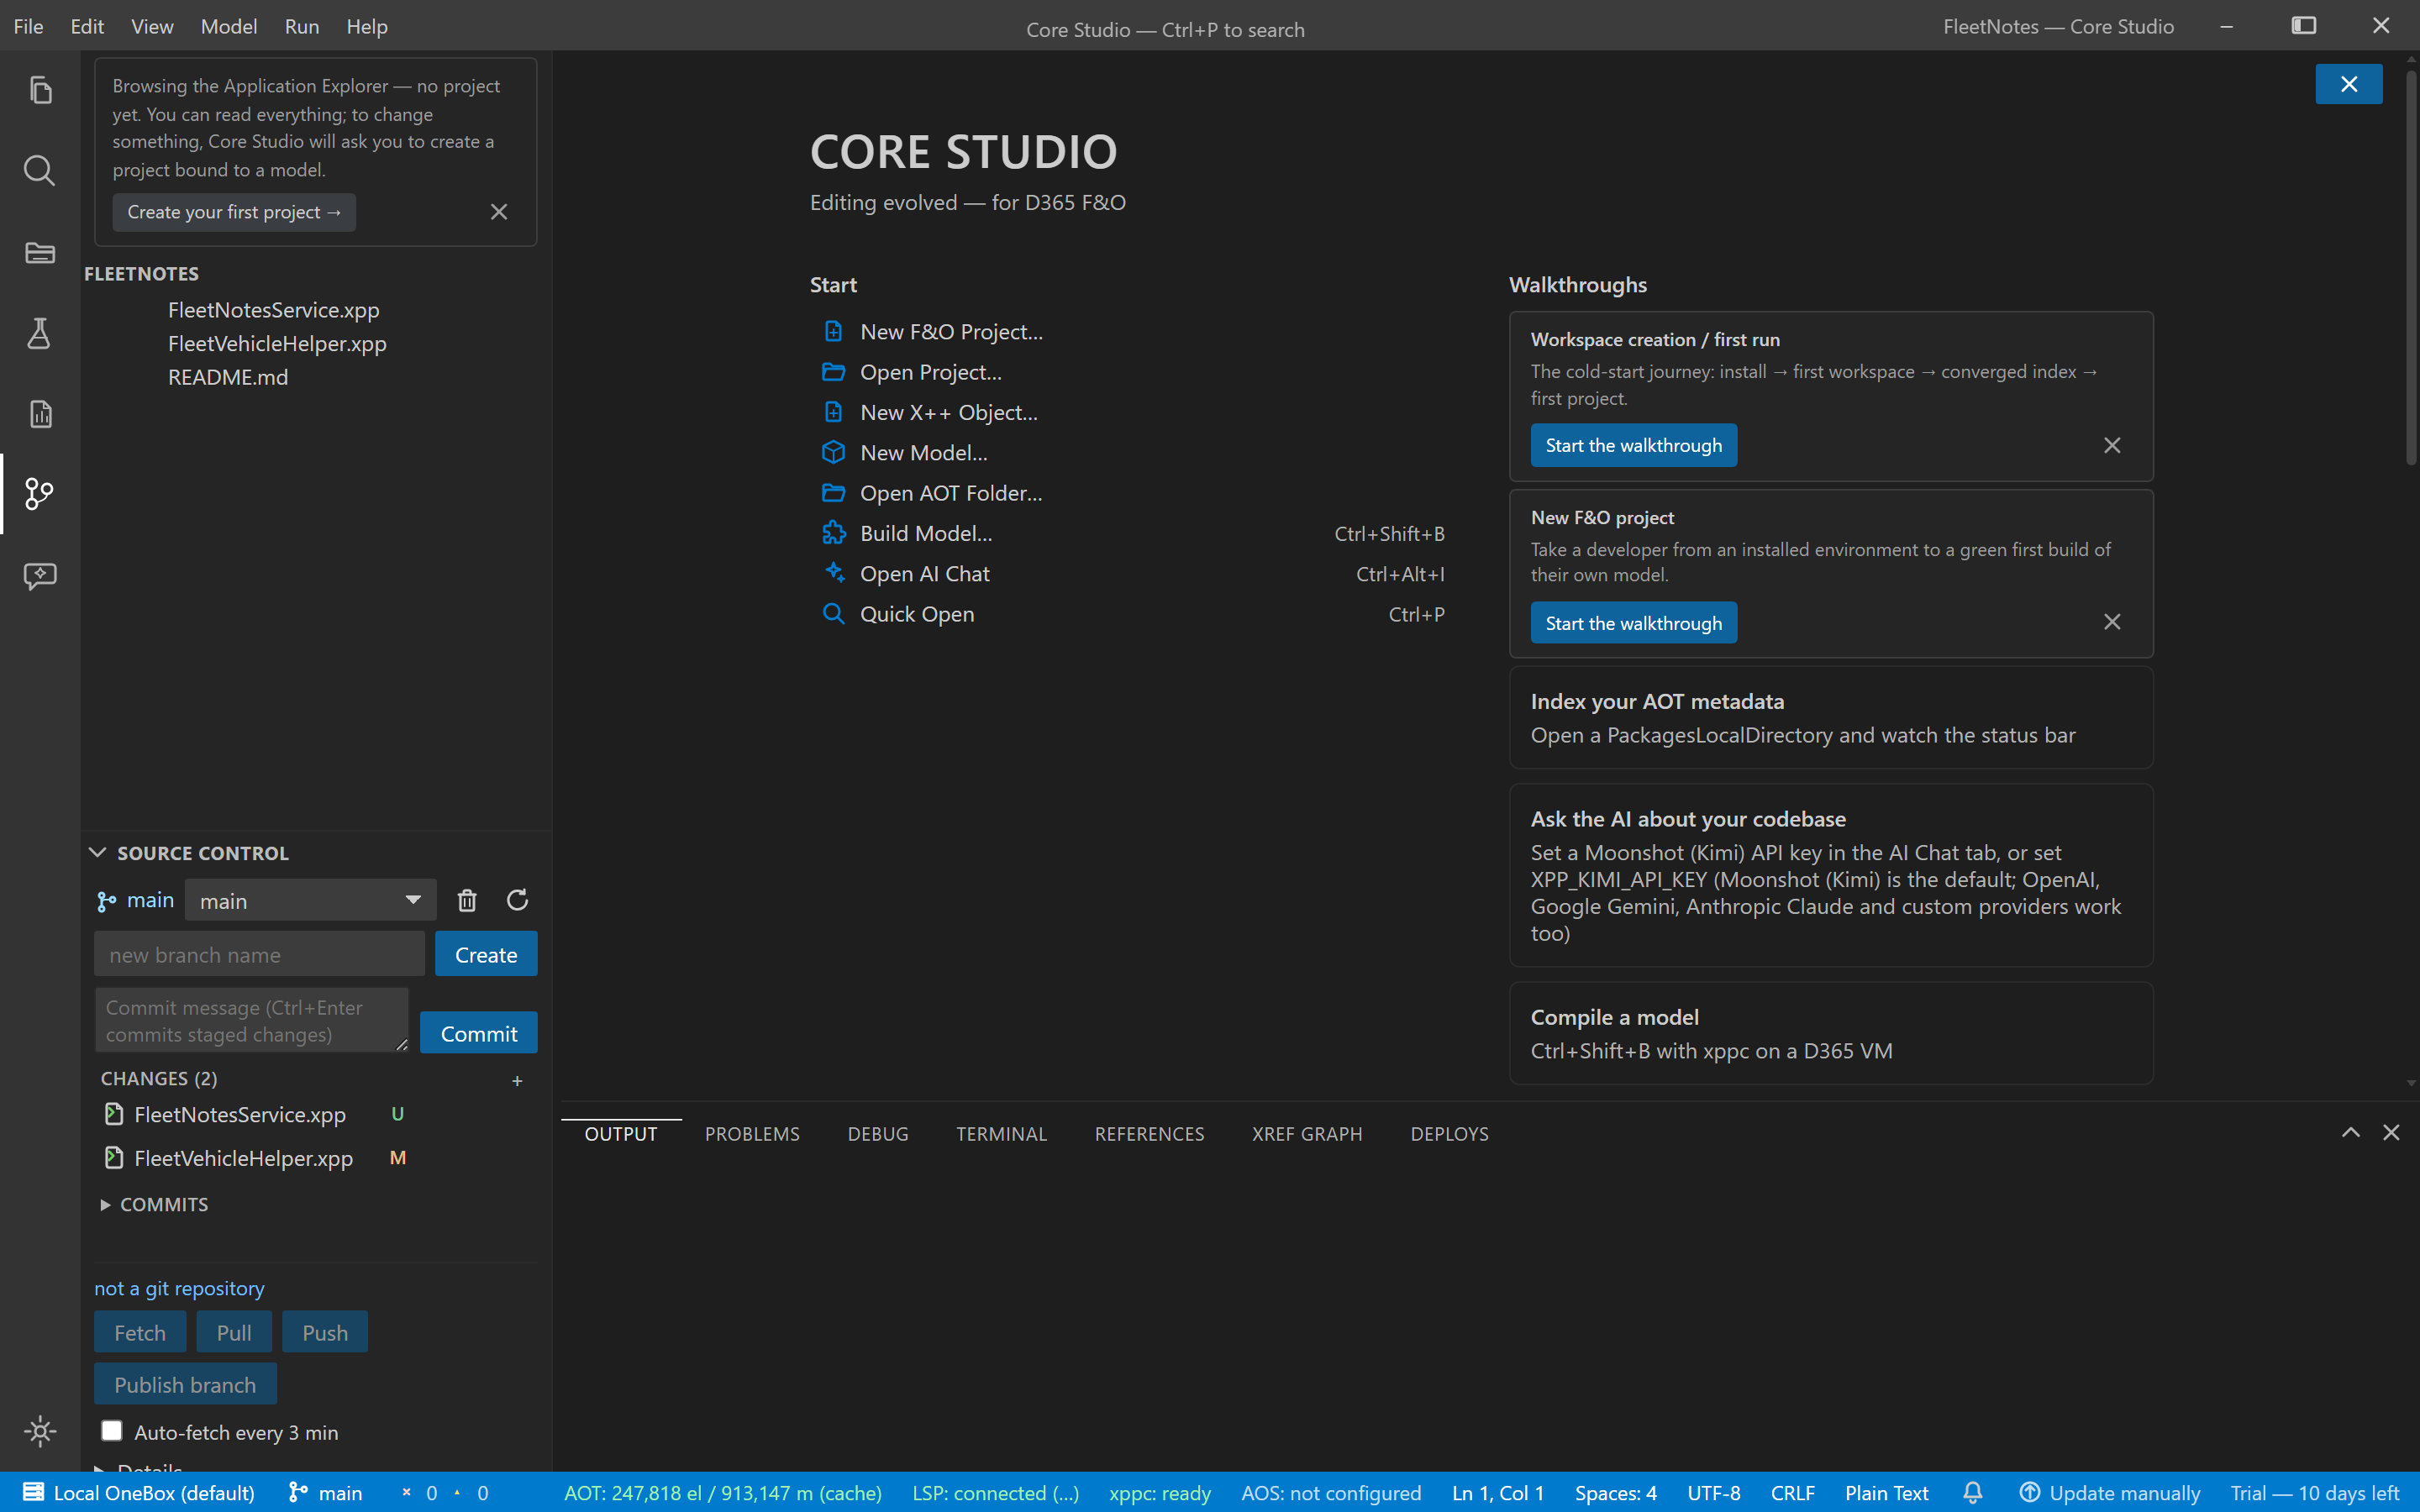
Open the Source Control section: see your change, stage it, commit it. That’s all the panel does — push and pull stay in the terminal by design, so you can’t accidentally publish half-compiled work, and the Studio never touches your git credentials.
Day 5 — run a build (on the VM)
On the onebox: File → Build Model…, watch the stream, click a diagnostic to jump to it. If deploy is part of your role, note the elevation gate up front — the pipeline checks and tells you, instead of failing mysteriously halfway.
Verify it worked (end of week)
- You can find any element by name and any string in code — and you know how to read the partial flag.
- Your first commit is in the local log, pushed by nobody.
- You’ve seen a real build verdict on the VM.
If it goes wrong
- Anything unfamiliar: the troubleshooting page covers the common states; the limitations section tells you what the product honestly can’t do yet — knowing that early saves you a support email.