
Walkthrough: CI pipeline scaffolding
Action walkthrough · Core Studio 3.0 · OneBox / CI · Verified 2026-09-01
Concept: one command scaffolds an FSC-PS-style Azure DevOps pipeline for a model — and because its build and test stages use the Studio’s own headless invocations, pipeline-green and IDE-green are the same fact, not two hopes.
Prerequisites
- A self-hosted Azure DevOps agent registered on the D365 build/onebox VM
(the machine with
PackagesLocalDirectory), in the pool the modal names. - The model builds green in-IDE first.
Steps
- File → Generate CI Pipeline… (or the Projects pane background context row).
- Pick the model and confirm.
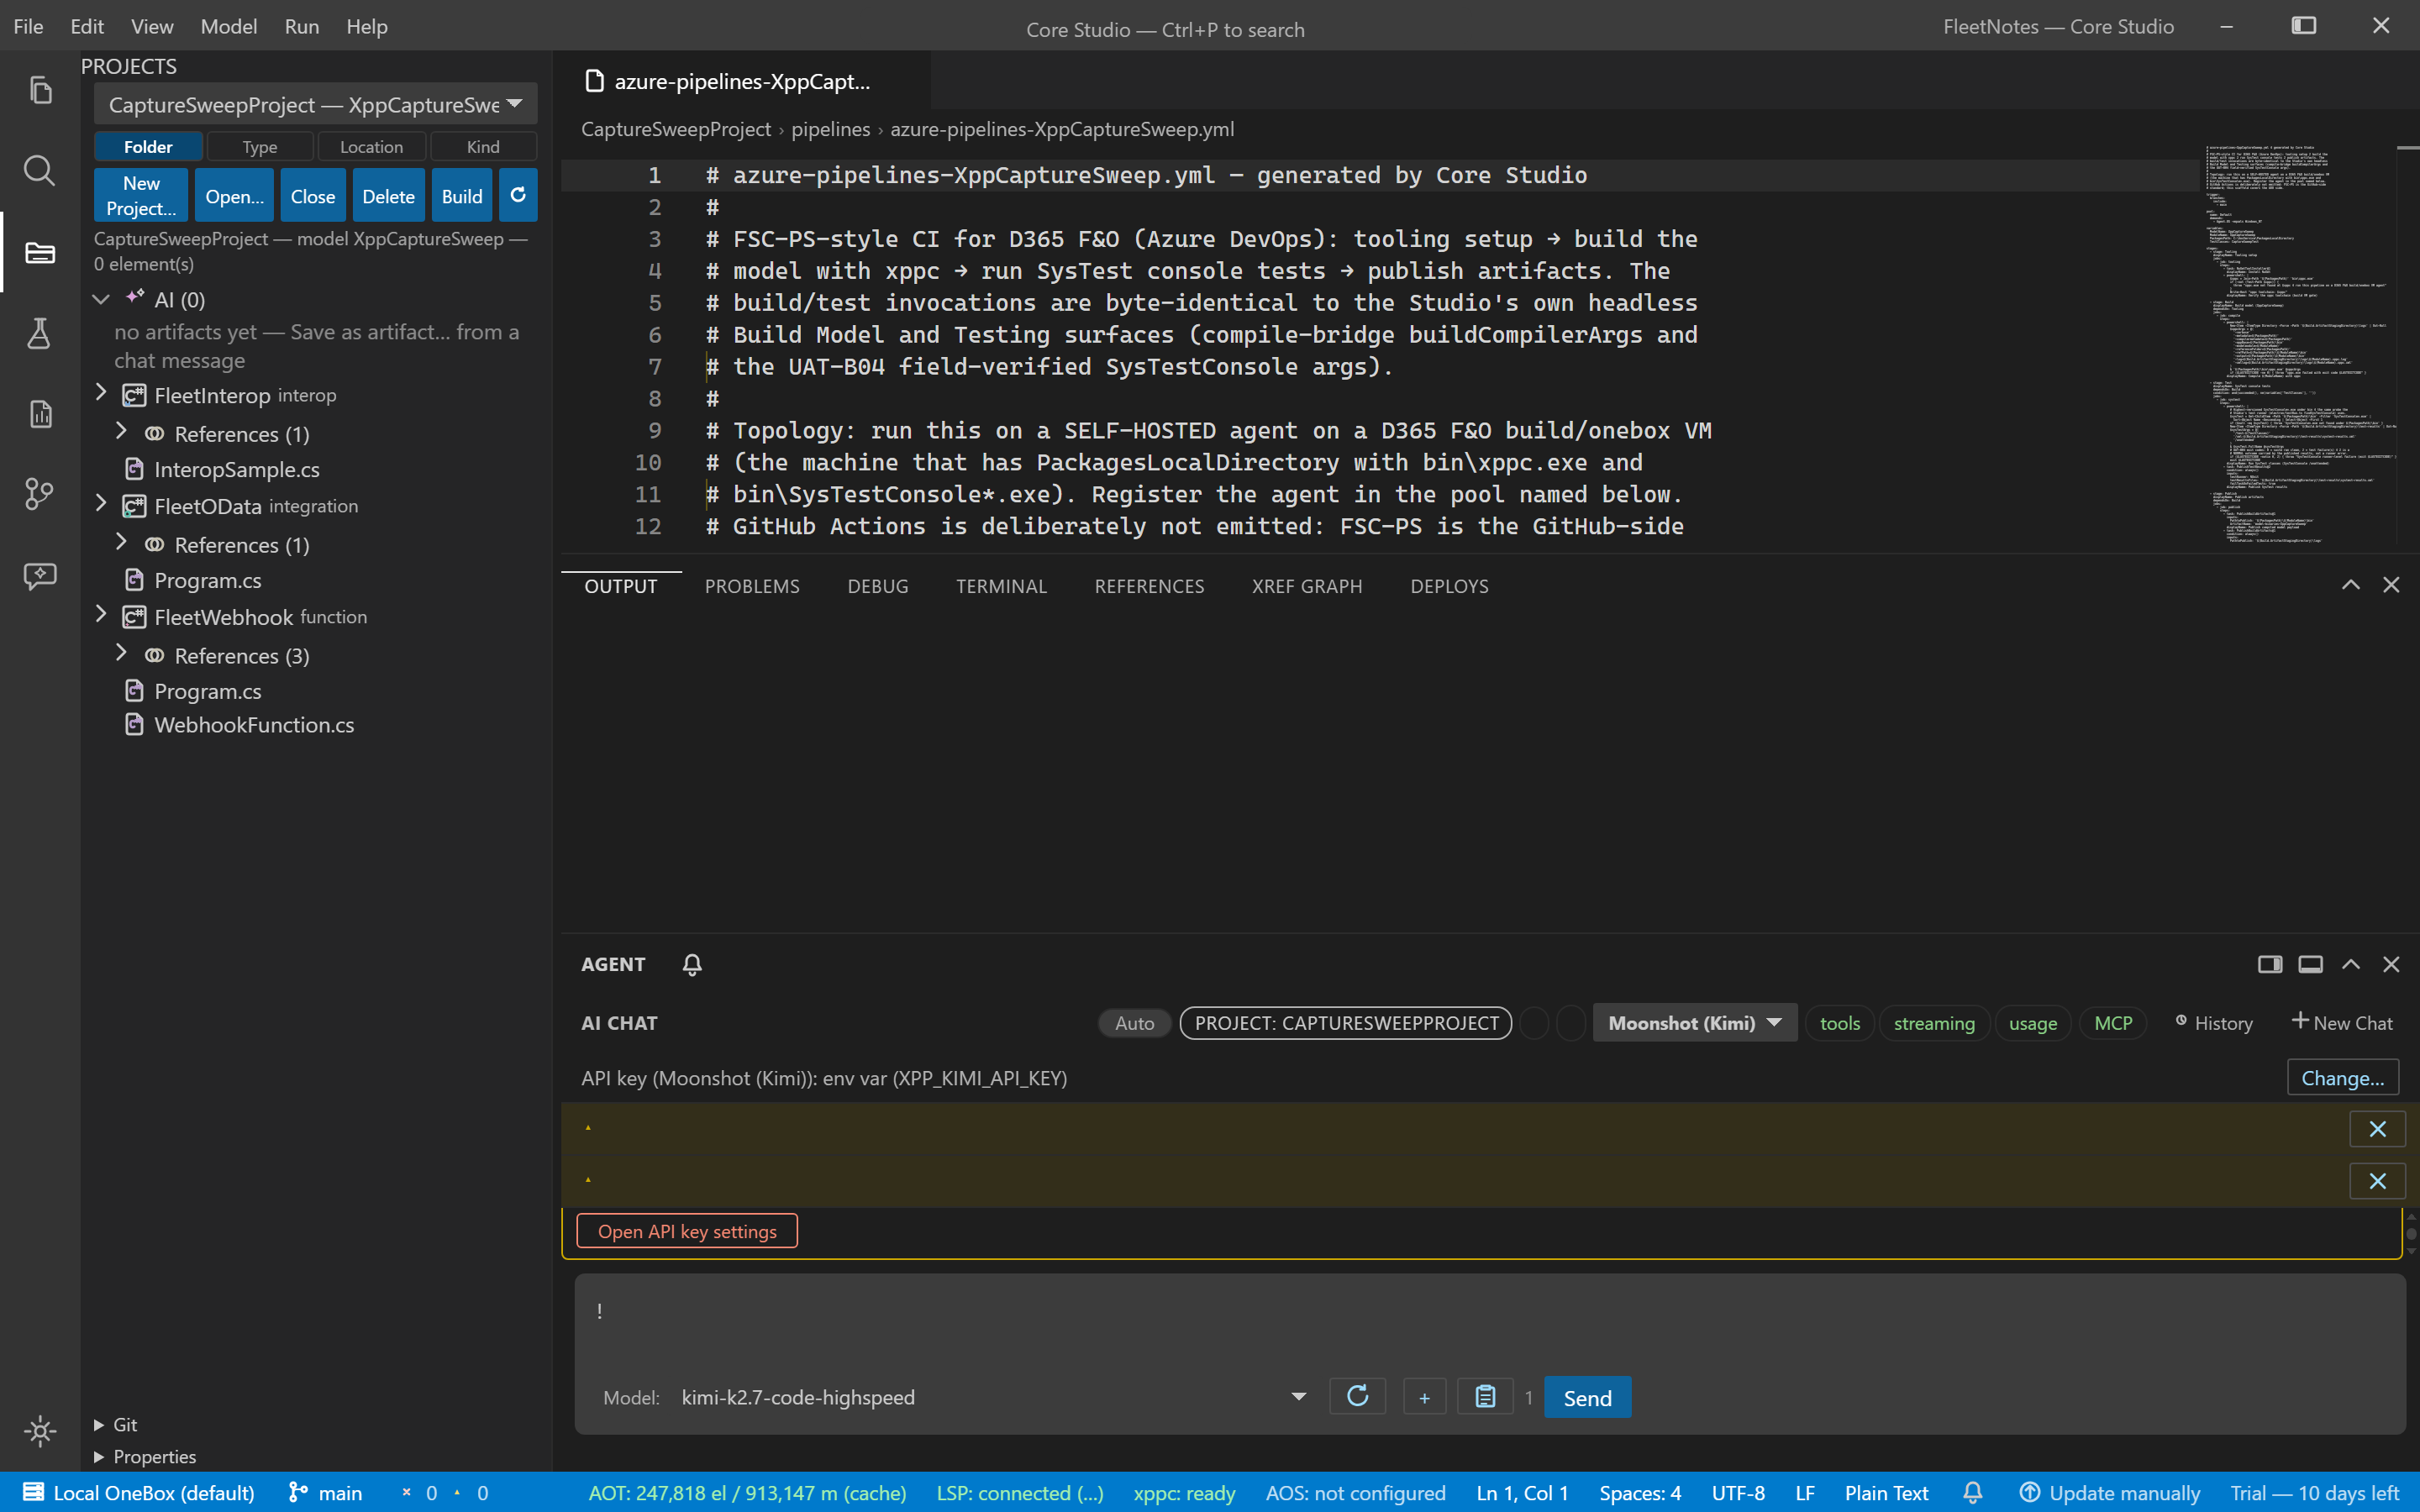
- Review the YAML — it opens in an editor tab with four stages: Tooling (NuGet + xppc toolchain gate) → Build (xppc compile, the same flag set as Build Model) → SysTest (SysTestConsole headless run + NUnit publish) → Publish (compiled payload + xppc logs as artifacts).
- Commit the file — it lands in
pipelines\azure-pipelines-<model>.yml, never overwriting an existing file (-2suffix on collision). - Fill
TestClassesin Azure DevOps — until then the Test stage is emitted but skips, deliberately.
Verify it worked
- The pipeline runs on the VM agent: Build compiles with the same xppc invocation as your IDE; SysTest runs headless with NUnit results published.
- A failing in-IDE build and a failing pipeline report the same diagnostic.
If it goes wrong
- Test stage skips — expected until
TestClassesis filled. - Agent can’t find the toolchain — the Tooling stage’s gate tells you first; that’s its job.
Troubleshoot further: CI reference page.