
Walkthrough: Build Model
Action walkthrough · Core Studio 3.0 · Verified 2026-09-01
Concept: the Studio drives Microsoft’s own compiler (xppc) in the background and streams everything into the Build drawer. Green means the real compiler is green — nothing is simulated.
Prerequisites
- A D365 F&O VM with the xppc toolchain (off-VM, the command shows a typed unavailable state saying exactly what’s missing).
- An open AOT root; the model you want to build exists in it.
Steps
- File → Build Model… (Ctrl+B) — or F1 → “X++: Build Model…”.
- Pick the model in the dialog.
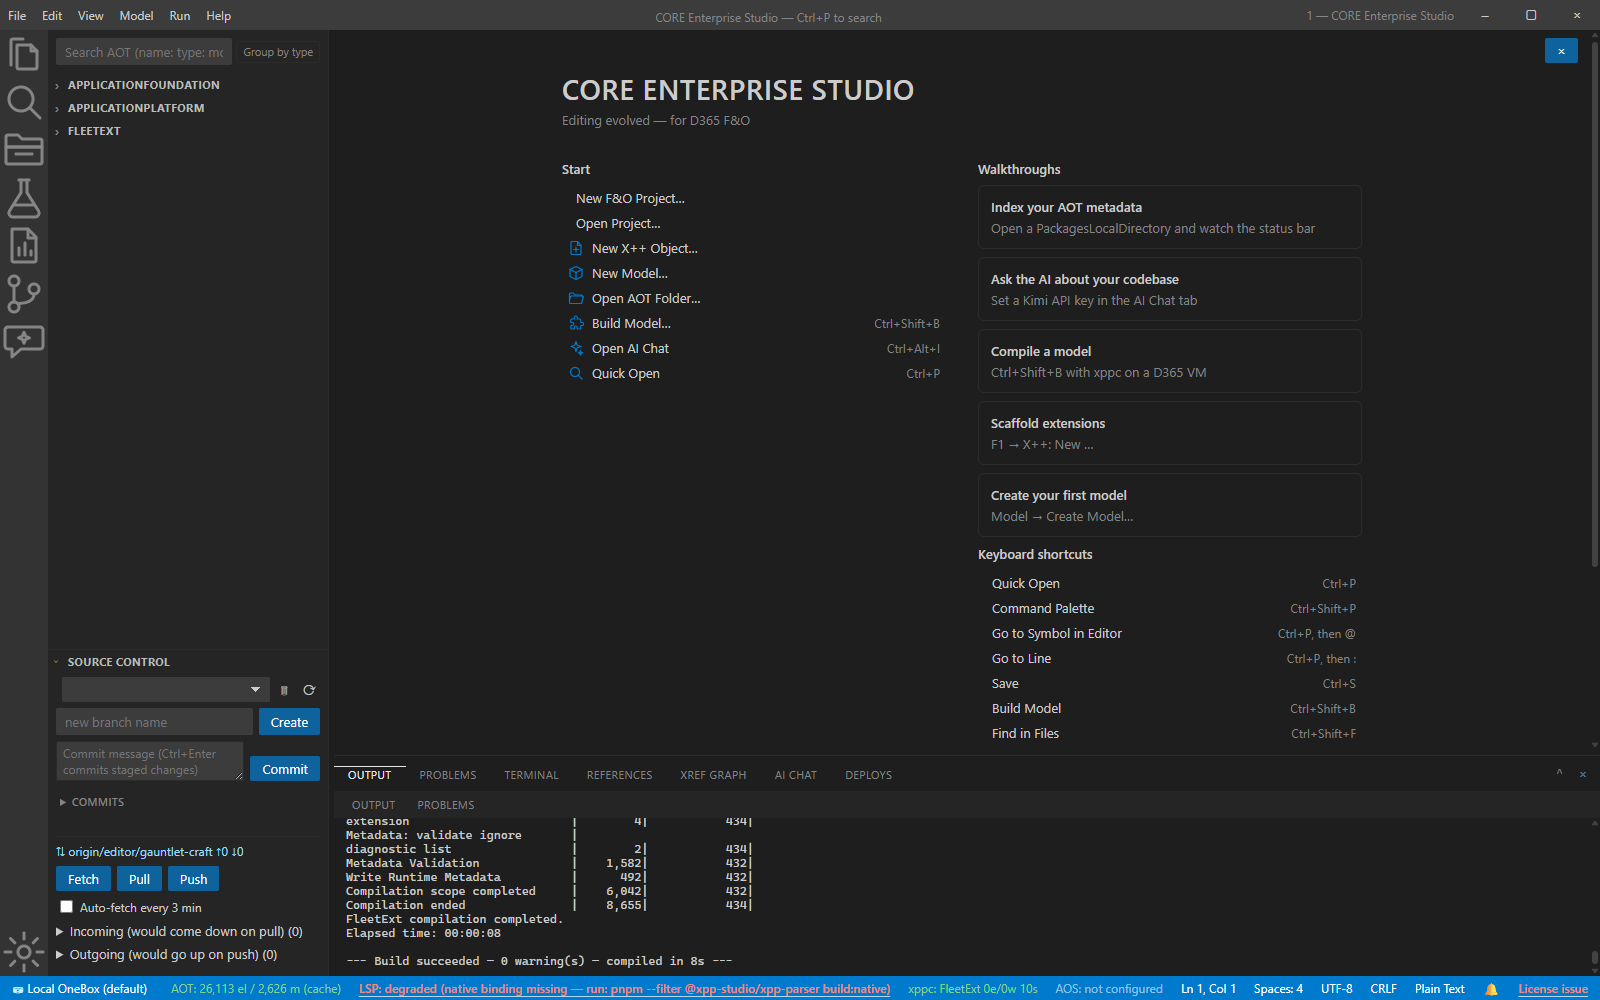
- Watch the Build drawer — the compile streams live. The Problems tab separates model diagnostics from the collapsed Environment group (external-reference noise), so you read your errors, not Microsoft’s.
- Click any diagnostic — the file opens at the exact line.
Verify it worked
- The drawer ends with an explicit verdict line — succeeded, failed with errors, or up-to-date. Silence is never a result.
- A deliberate error round-trips: build → diagnostic → click → fix → rebuild → green, with the environment noise staying collapsed throughout.
If it goes wrong
- Command unavailable → off-VM or toolchain undetected; check the compile-bridge status-bar segment.
- Build fails on code the wizard generated → read the compiler’s message literally (e.g. a missing delegate for an event handler) — generated code surfaces real compiler feedback, it doesn’t hide it.
Troubleshoot further: Troubleshooting & limitations.